How to Maximize Your Nursery Station with Microgreens
Want to learn how to grow microgreens and maximize your revenue while you’re at it?
First off: What are microgreens?
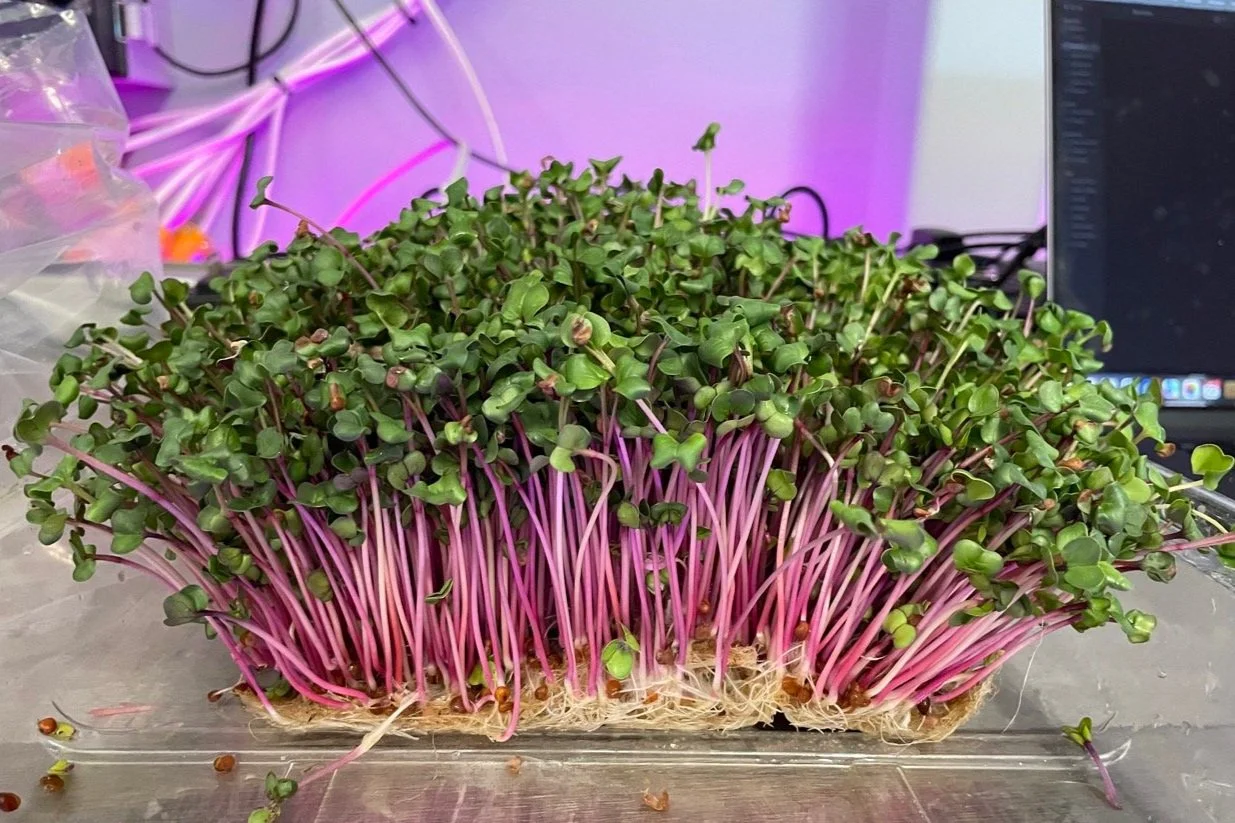
Microgreens are very young seedlings of vegetables and herbs. These tiny plants pack a surprisingly powerful punch, with big flavor and lots of nutritional content.
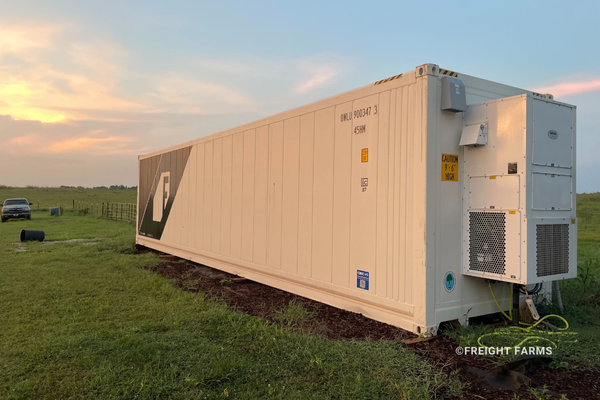
You probably know that Greenery™ S vertical farms have two growing areas: the Nursery Station (where seedlings sprout) and the Cultivation Area (where plants mature). It just so happens that the Nursery Station has some extra room. Why not use this space for growing microgreens to make some extra income?
Why is there extra room? Here’s the quick math: The Nursery Station has room for 16 trays (of either 200 or 288 cells). To keep the Cultivation Area full, if you’re only growing lettuce you’ll need to plant 990 plants (in 4–5 trays) in the Nursery Station each week, where they’ll stay for 3 weeks until they’re ready for transplanting. This leaves at least one available tray at all times. What to do with that extra tray? Plant microgreens!
Some farmers go even further and install a grow rack across from the Nursery Station to really maximize their output per square foot and meet the local demand for microgreens.

Photo by Augustine Fou on Unsplash
Why?
Microgreens grow fast. They’re ready 10–12 days after planting seeds.
Microgreens grow without grow plugs, which saves you both time and money. (They grow in flat trays on a substrate mat, which is cheaper than plugs.)
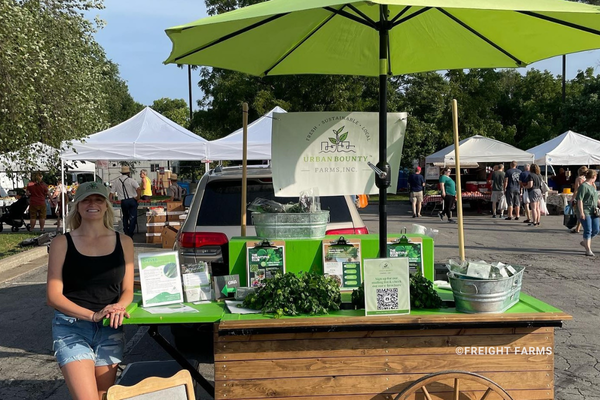
Microgreens are highly sellable. The microgreens industry is rapidly growing, and chefs and consumers alike love them for elegant garnishes, pops of color, and their flavor and nutritional value.
Microgreens command a premium price. People will pay $2–$3/ounce for microgreens. With each tray producing between 2–3 lb. of microgreens, that adds up to somewhere between $64–$144 per tray!
All in all, if you routinely planted microgreens in your extra tray, you could be making over $300 in additional income each month!
So, how to grow microgreens hydroponically?
It’s pretty simple. Here’s a high-level overview:
Line a flat 10”x20” microgreen tray with substrate (such as coco coir or hemp mats). Completely saturate the substrate with water.
Evenly distribute a thin layer of microgreen seeds on top of the substrate and cover with a tray to shield from light, then cover with a humidity dome. The seeds will germinate in the dark for 3–4 days.
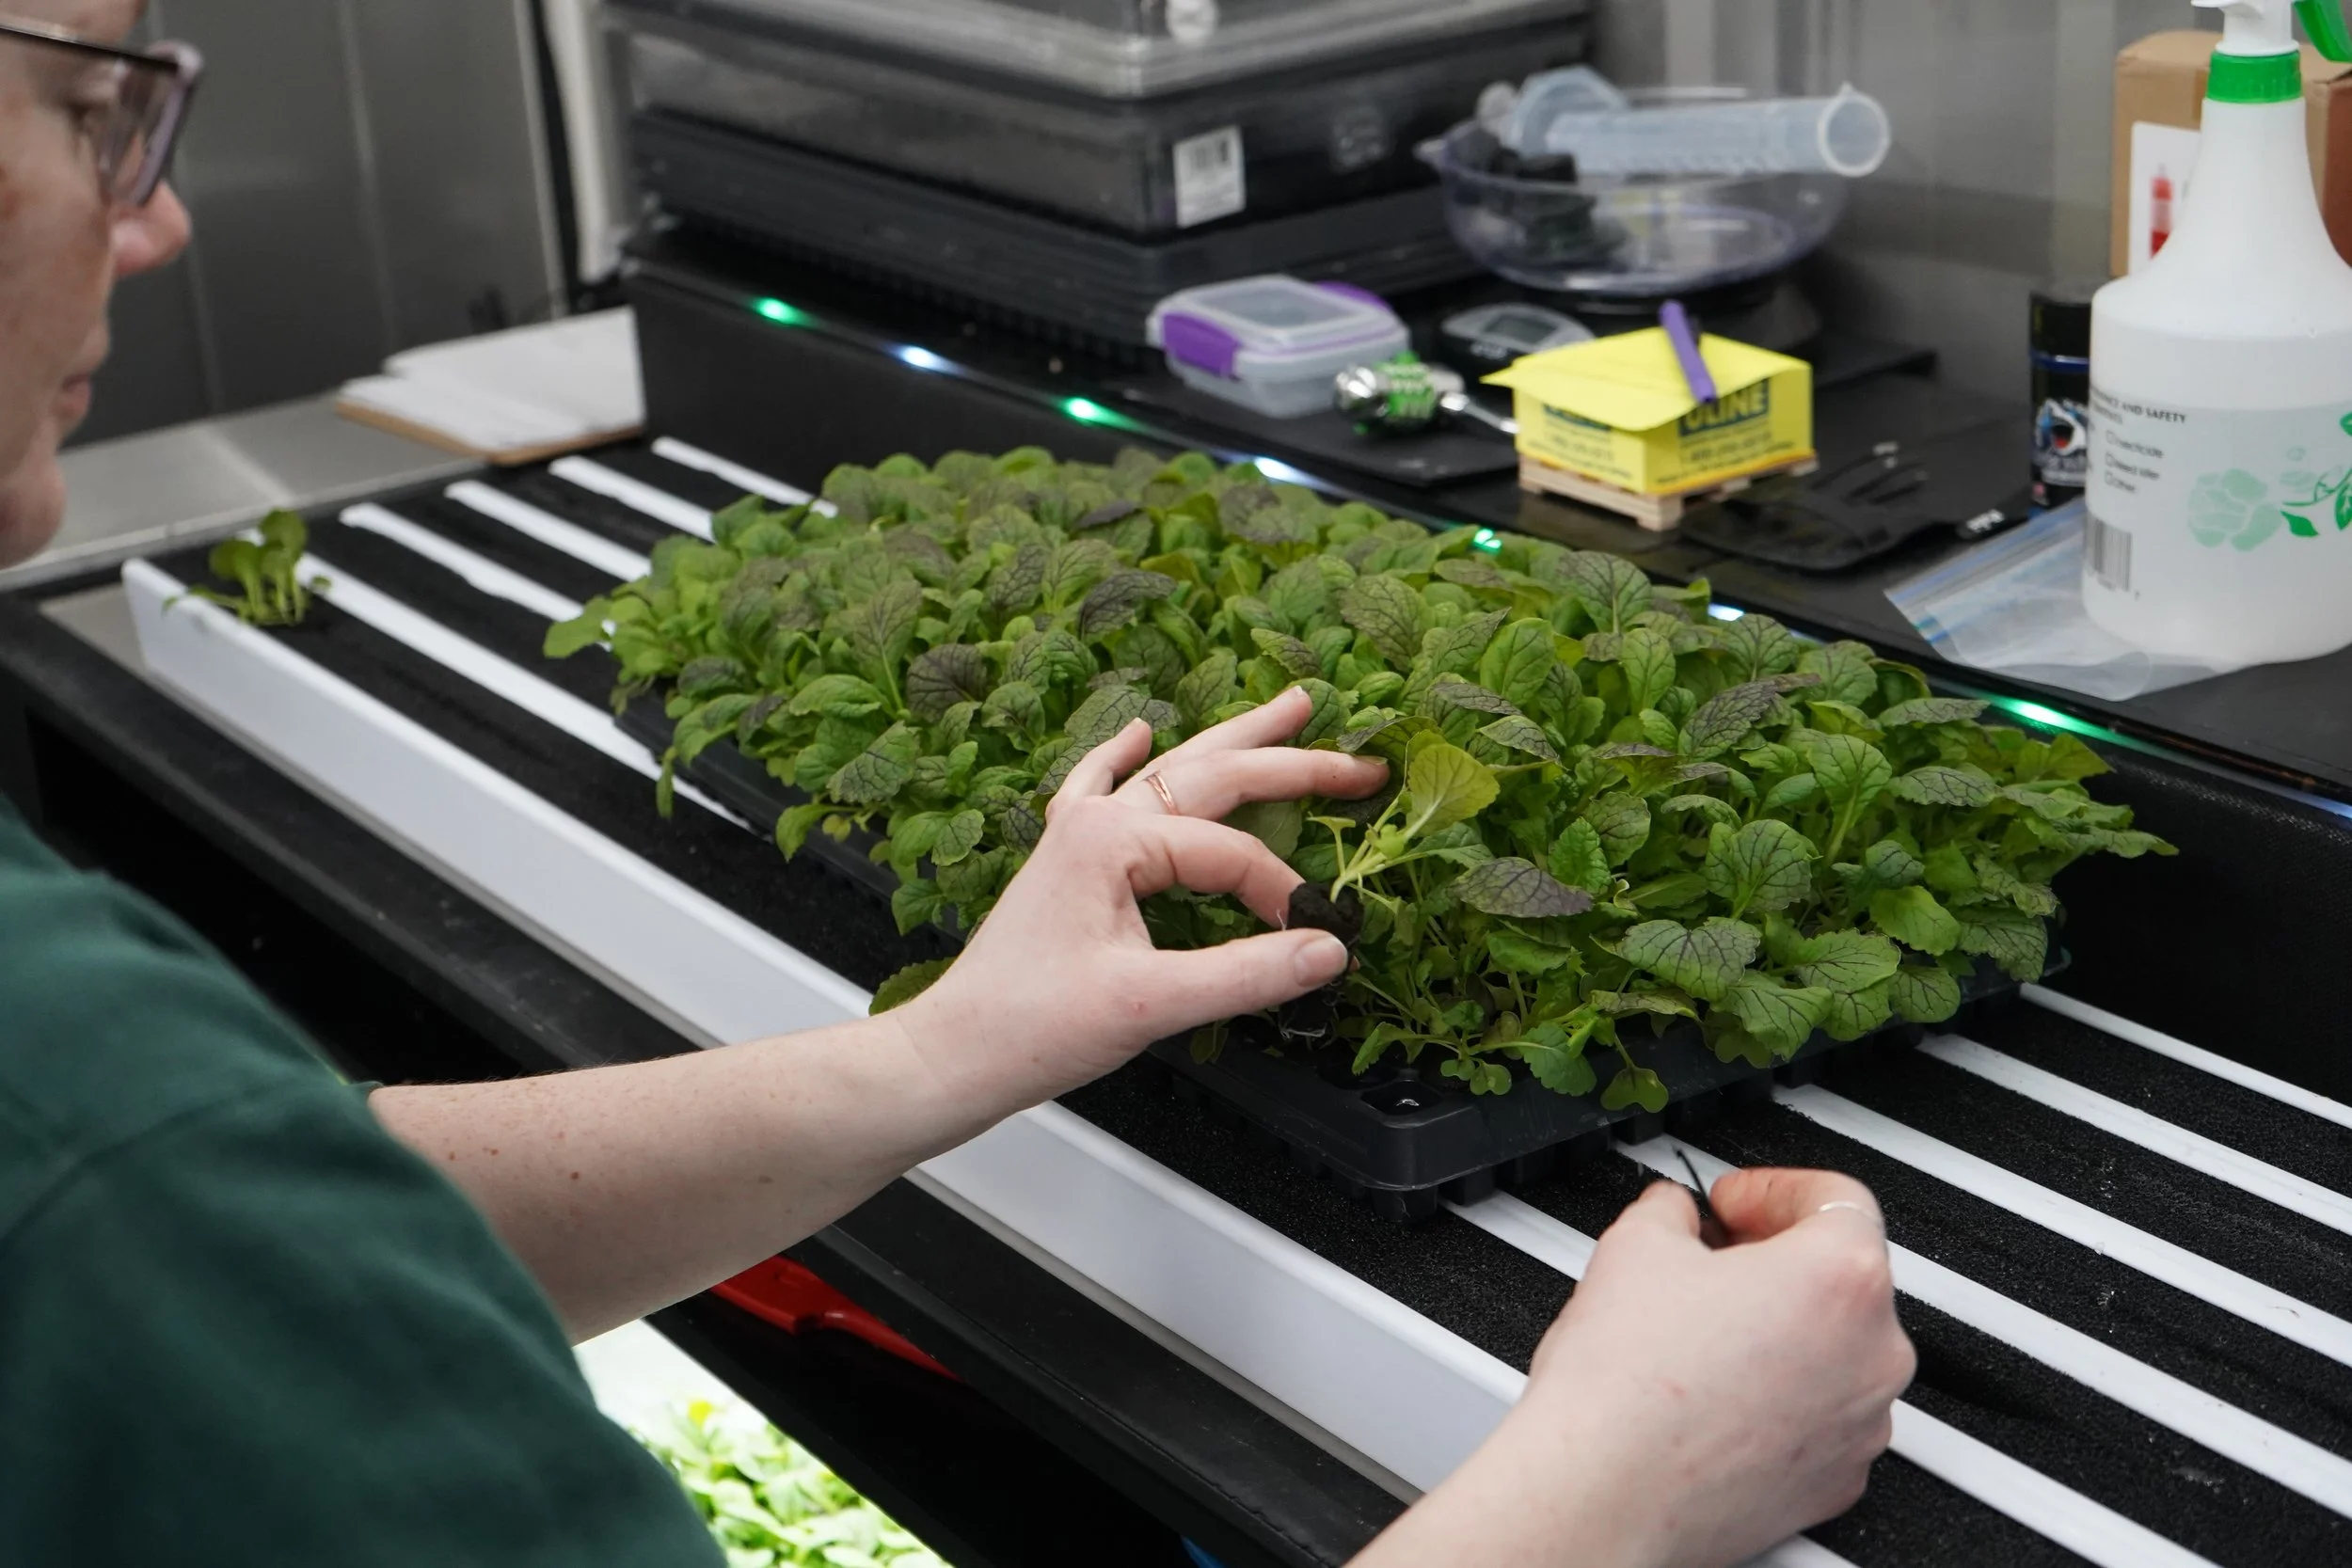
After 3–4 days, remove the cover to expose the sprouts to light and move the tray to the open spot in your Nursery Station’s troughs.
The microgreens will start to turn green and grow leaves over the following 6–8 days.
The microgreens should be ready to harvest after 10–12 days total, any time between when they’ve formed cotyledons (seed leaves) and when their first true leaves have emerged. To harvest, cut as close to the substrate as possible with a sharp knife or scissors.
Farmhand software is your guide for growing microgreens
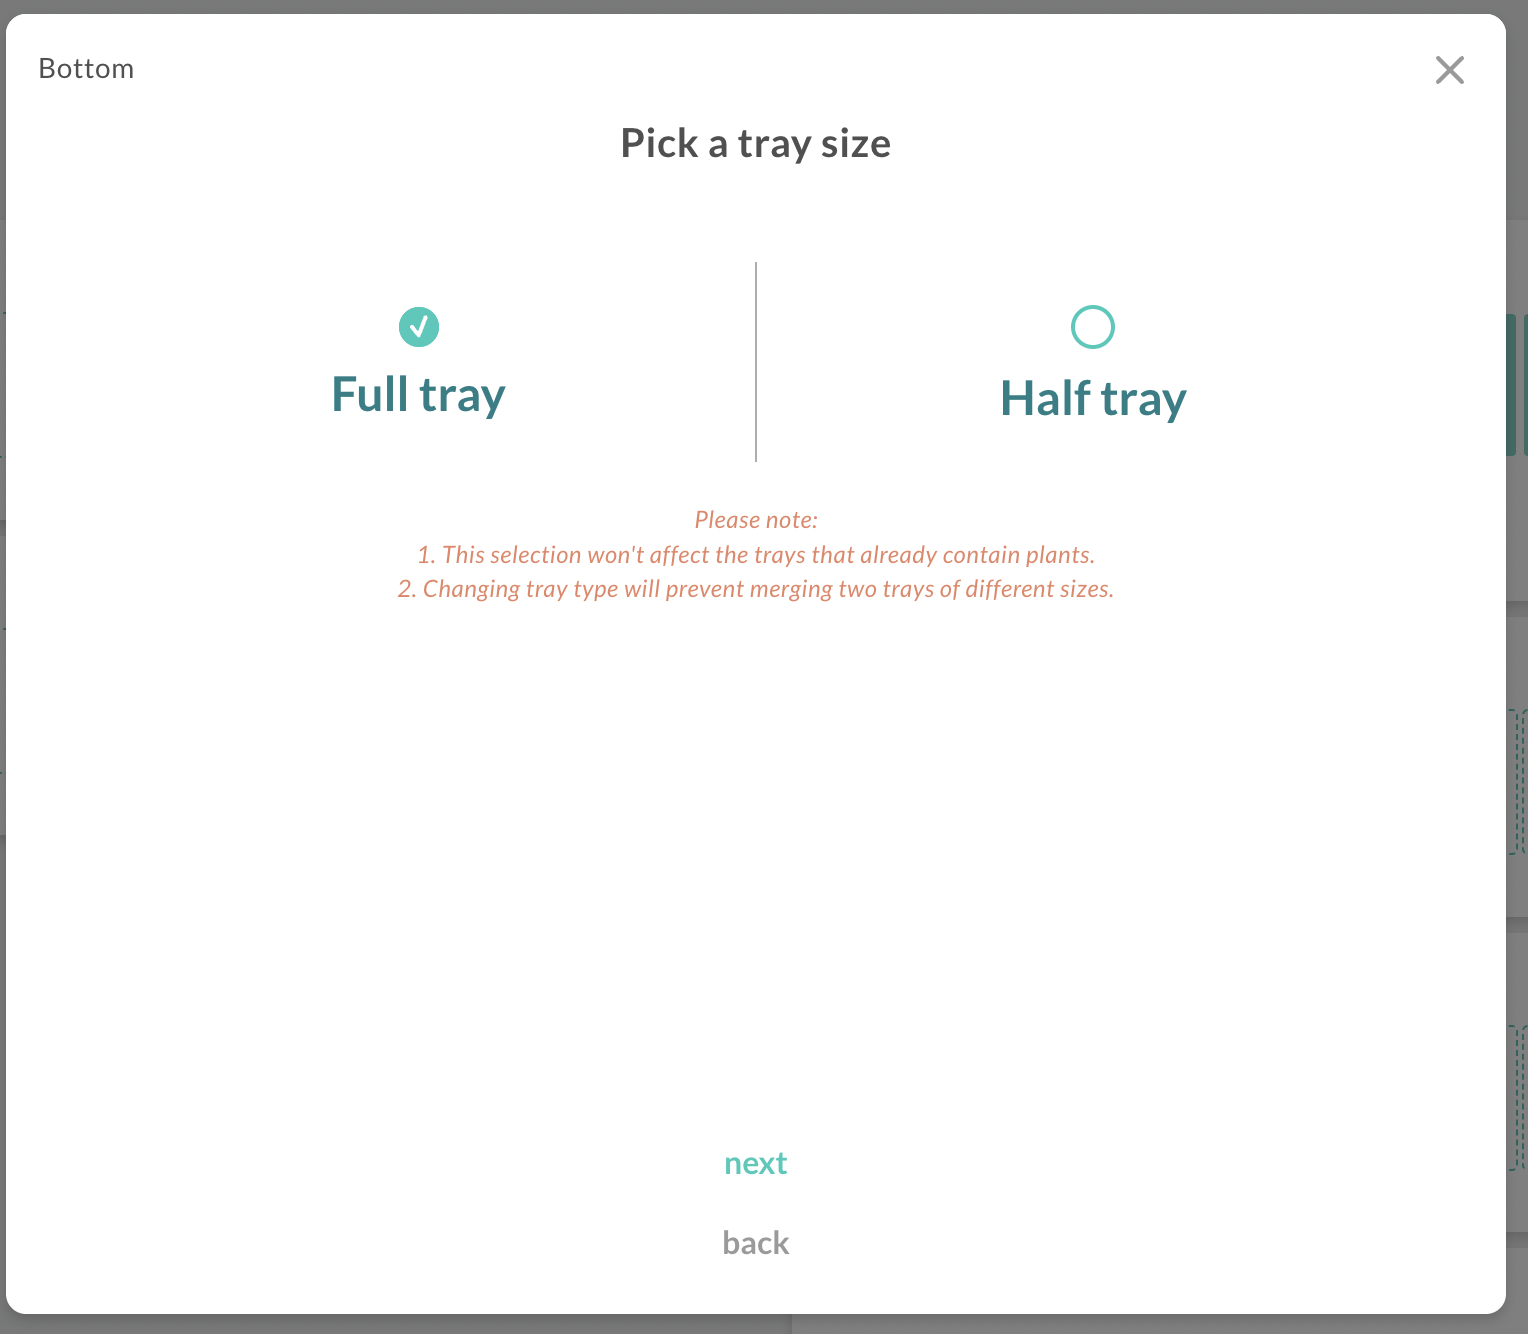
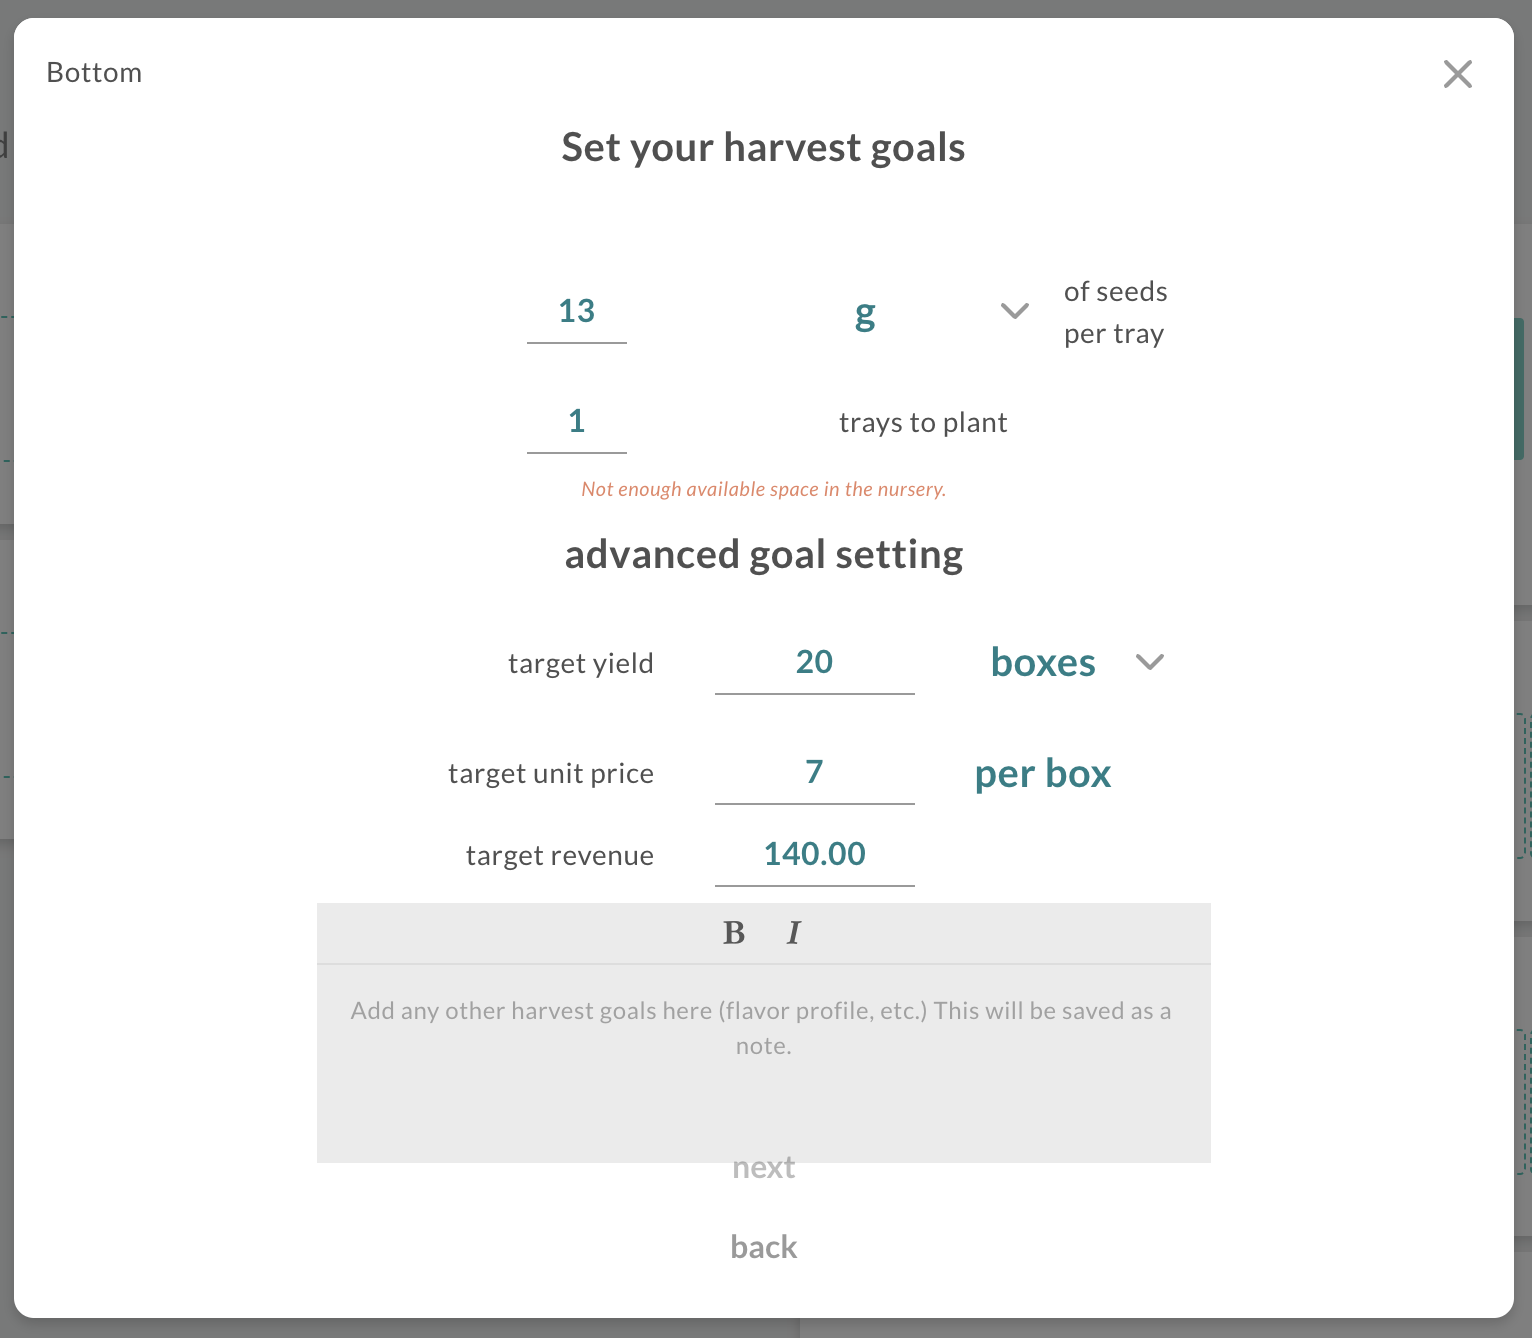
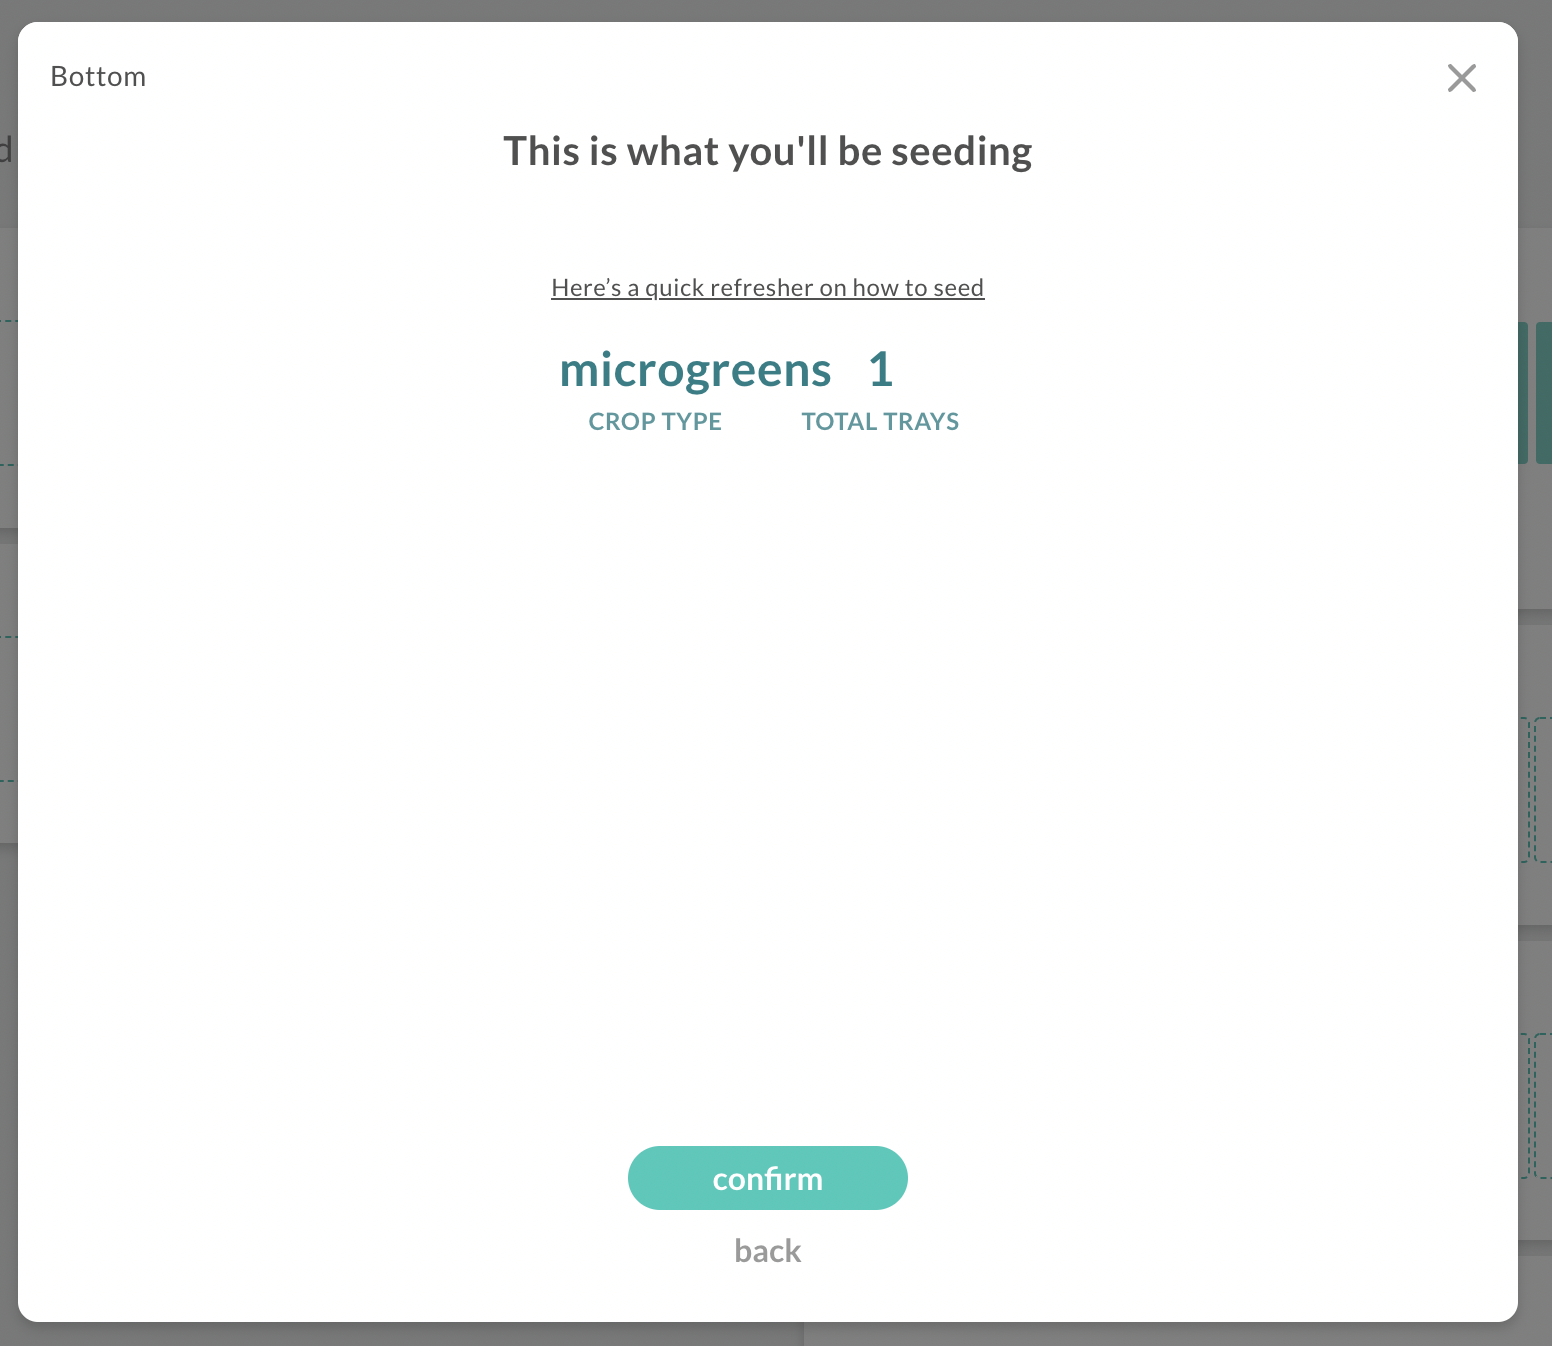
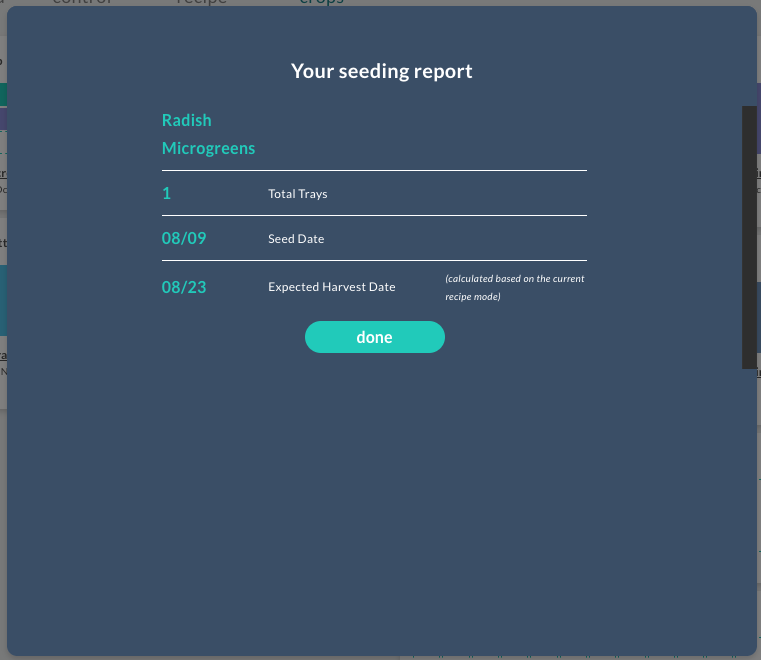
Freight Farms’ farm management software walks you through planning your microgreens crop, helps you to set goals, and projects when your microgreens will be ready for harvest.
What type of microgreens should you grow? Here at Freight Farms we love radish microgreens, which have a distinctly radishy, spicy flavor and a pretty pink color, and are also the simplest type of microgreens to get started with. Other great options are broccoli, cabbage, pea, and others.
Happy growing!
Wondering how much it costs to ship a container farm? Learn what factors influence delivery and crane pricing - and how to avoid unexpected charges.
Grants can help fund your Freight Farm! Learn where to find grants, how to write a winning application, and what to expect in the process.
Grants provide a path to funding a Freight Farm for schools and community programs, offering fresh produce, hands-on education, and sustainability benefits. Explore funding options and how to apply today!
Grants can help fund your Freight Farm and make your vision a reality. This guide covers how to find the best funding opportunities, build a compelling application, and stay grant-ready year-round. Explore our expert tips and resources today!
Discover why 2025 is the ideal time to start a hydroponic farming business. From food safety and local sourcing to sustainability and advanced technology, this guide covers the key trends and opportunities shaping the future of agriculture.
Discover how the Greenery™ by Freight Farms is revolutionizing vertical farming. Learn how this innovative solution maximizes space, conserves resources, and enables sustainable, year-round crop production.
Discover how Controlled Environment Agriculture (CEA) is transforming farming with year-round crop production, optimized growing conditions, and sustainable practices. Learn how Freight Farms' innovative solutions make CEA accessible for growers everywhere.
Discover the best packaging options for hydroponic produce. From clamshells to eco-friendly boxes, find solutions to keep your crops fresh, protected, and market-ready.
Discover how following food safety protocols in vertical farming can boost customer trust, protect your produce, and help your business thrive. Learn key practices that make your Freight Farm a reliable source of fresh, safe, and market-ready crops.
Hydroponic farming is a revolutionary way to grow plants without soil, using nutrient-rich water systems for faster growth and higher yields. Discover the key benefits, popular hydroponic systems, and real-world applications from nonprofits to healthcare, zoos, and more, all driving sustainable food solutions. Learn how you can get started with Freight Farms' customizable hydroponic solutions today."
Discover how to maximize your Freight Farm’s success by connecting with local resources, building community partnerships, recruiting top talent, and securing funding. Learn actionable steps to expand your farm's impact today!
Learn expert strategies to market your Freight Farm, build a strong online presence, engage with your community, and grow your business with sustainable local produce
Discover 16 compelling reasons to start container farming today! From becoming your own boss and contributing to your community, to growing fresh, local produce year-round, container farming offers personal, financial, and environmental benefits.
Learn about 6 important things to consider when packaging your crops. We've compiled some resources to help you determine how to package hydroponic crops and what kind of packaging best suits the needs of you and your customers. We cover value propositions, branding, vegetable preservation, customer segments, and more.
Freight Farms provides a straightforward, sustainable solution for growing produce. This guide offers a comprehensive look at the daily, weekly, and monthly tasks required to maintain a Freight Farm, with detailed steps to give prospective buyers a clear understanding of farm management.
Co2 plays a crucial role in plant growth by aiding photosynthesis, turning carbon dioxide into energy. By supplementing Co2, plants grow larger, retain more moisture, and become more efficient with water use. Learn when to use Co2 and how it can enhance your farm’s output.
As vertical farming grows, so do the possibilities for crops you can cultivate in your farm. From leafy greens to herbs and even experimental crops, Freight Farms offers a vast range of options. However, with so many choices, it’s essential to start with a solid crop plan.
Schools across the country are finding innovative ways to make their Freight Farms more functional and educational for students. By customizing the interior and exterior, schools can turn these farms into engaging spaces for hands-on learning, science projects, and sustainability initiatives.
Discover essential cleaning tips for your Freight Farm to boost plant health and maximize efficiency. Learn how daily maintenance routines can prevent pests, bacteria, and algae, keeping your vertical farm productive and thriving.
Your grocer only sells a tiny fraction of the thousands of varieties of edible greens that exist in nature. At Freight Farms, we’re able to grow delicious and unique plants that you likely haven’t seen at the store.
Ongoing changes to our world, such as increasingly extreme weather and population growth have led many people, particularly in urban communities, to take a long, hard look at food production and distribution.
What happens after you purchase a Freight Farm? We've got you covered! This guide will walk you through the key steps from purchase to launch, ensuring a smooth and successful start to your farming operation.
The Greenery, our climate-controlled, indoor, hydroponic growing system, requires no previous farming experience to operate. However, those already managing successful farms can reap extra benefits.
By examining direct-to-consumer sales, retail and wholesale opportunities, specialty and niche markets, educational and community engagement, urban farming, and value-added products, we provide a comprehensive guide to help small business farmers integrate Freight Farms into their operations effectively.
For new Freight Farmers, equipping themselves with the right tools is crucial. Here's a detailed guide to the top 10 essential items from farmhand® that every new Freight Farmer should consider.
To determine the best pricing structure, you must research your market. In this guide, we'll help you identify the ideal sales channel, outline the process to establish your pricing, and offer recommendations for moving forward.
Explore the benefits and challenges of small-scale farming and how container farms can help increase food security, promote sustainability, and boost local economies.
In this article, we explore the economic benefits of urban farming, including job creation, community development, enhancing local food systems, and many more.
In this article, we explore how hydroponics is transforming restaurant menus, focusing on some crops you can grow in the Greenery and unique recipes that highlight these fresh, locally-grown ingredients.









Future planning for your Freight Farms delivery? Learn what your site needs, what to expect on delivery day, and how to avoid common surprises.